tutorial

Lighting painting interiors.

Hello,

Today is like to share a process with you on how I like to light my interior images.
If you’ve ever tried to photograph a building interior, you know how tough it can be to properly expose all parts of the scene. You know how many areas tend to fall into darkness.

When this happens, many photographers will just try to recover the shadows with a brighter exposure or some dodging and burning. Unfortunately, that can lead to muddy results which often display a lack of texture and colour.

One technique that I like to use with modern photographic tools is light painting.

One method would be to literally stop down the aperture, wear an all-black outfit, and wave a light around for a 30-60 second exposure to fill in shadows.

Luckily, things are a bit easier these days. You can use a single Speedlight and see the results instantly.

I personally like to use a speed light and a remote to pull it off, (depending on how much power I’ll need.)

The aim here is to add light in spots that appear to have natural light falling on them – either from landscape lighting or interior lighting. Adding flash or hot light will dramatically clean up the quality of the light, by giving it direction and fall off. Whereas the ambient light may create a muddier appearance due to having no directionality, incoherent colour casts or being mixed with the window or interior lighting.

Light,-Lighter,-photoshop-tutorial,-lesson,-teaching,-software,-education,-adobe,-credited,-master,-Lee-Ramsden.jpg

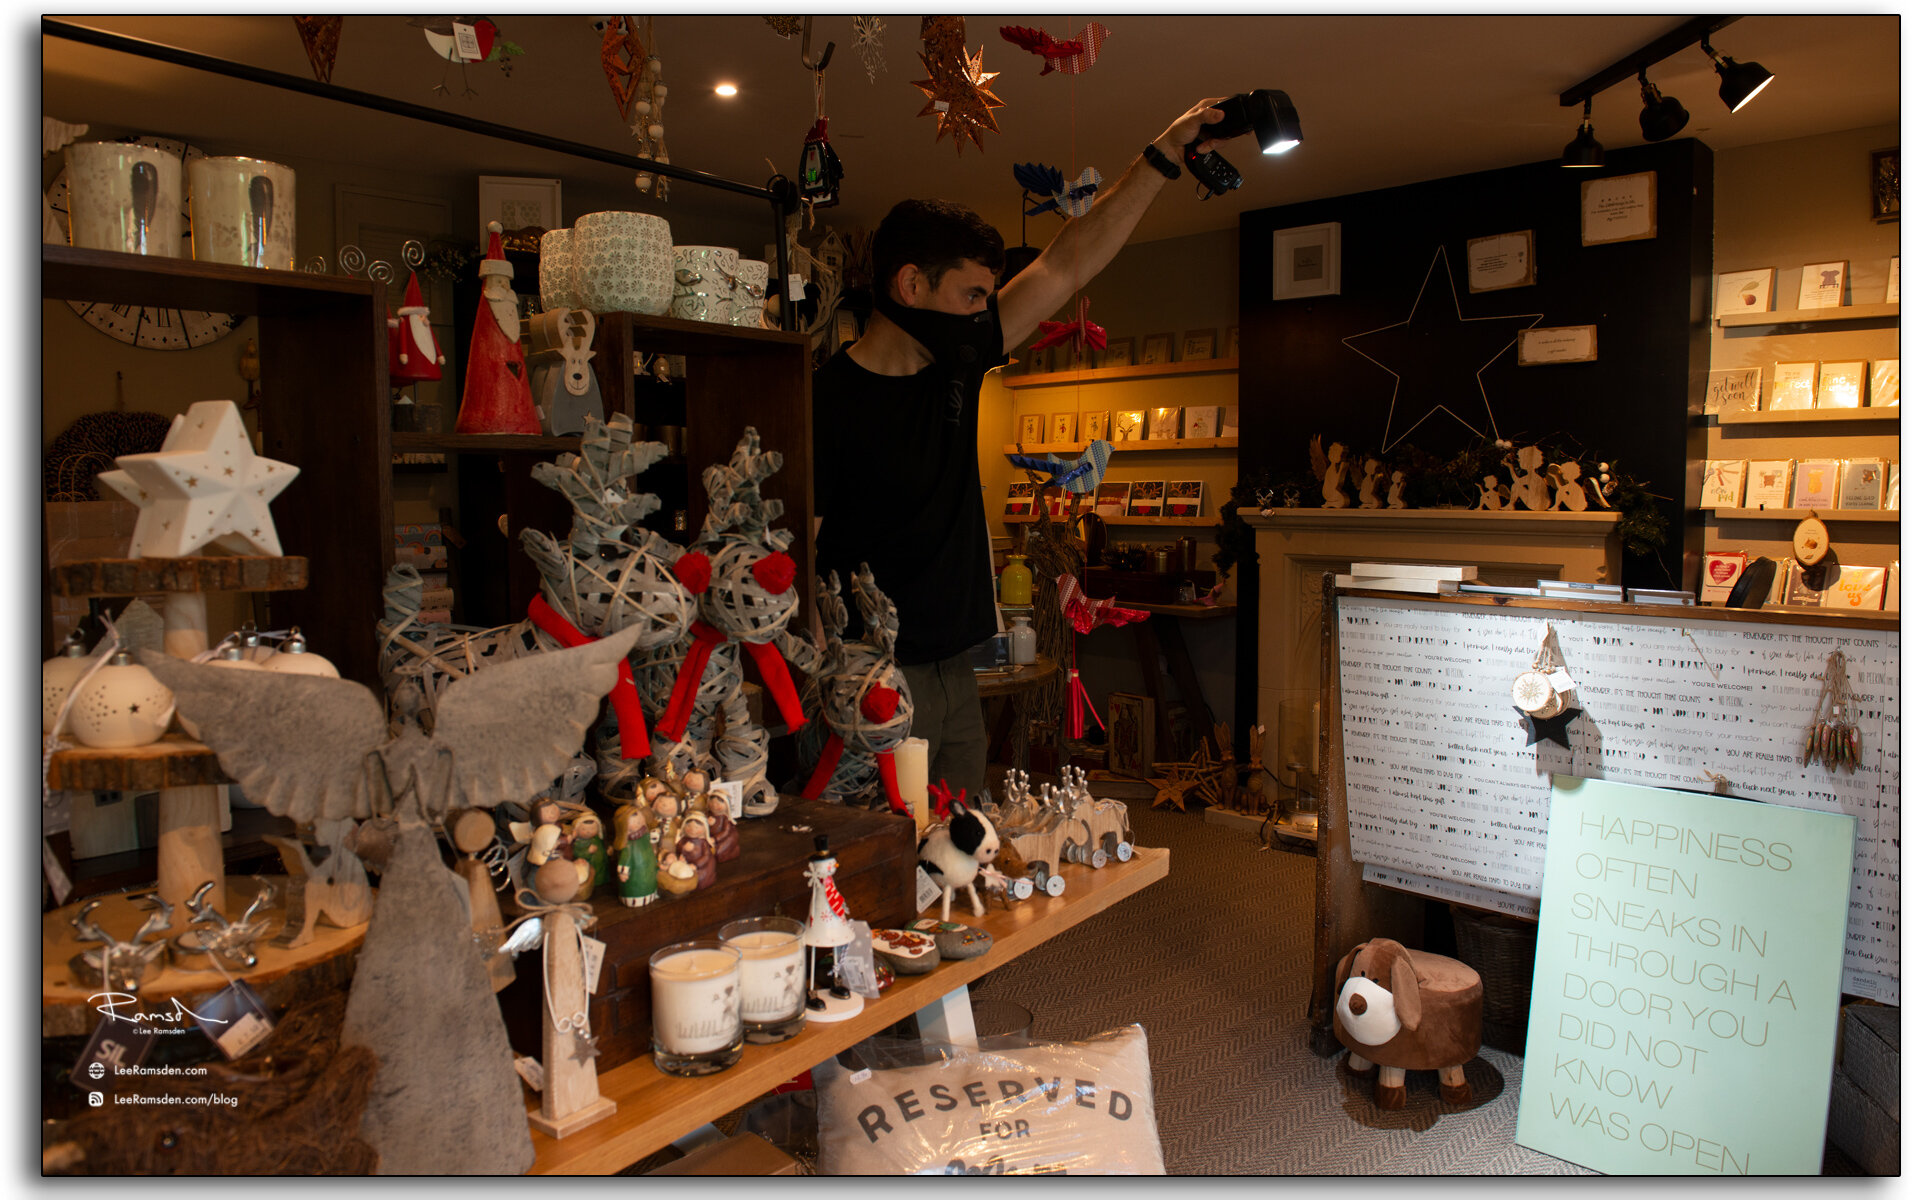
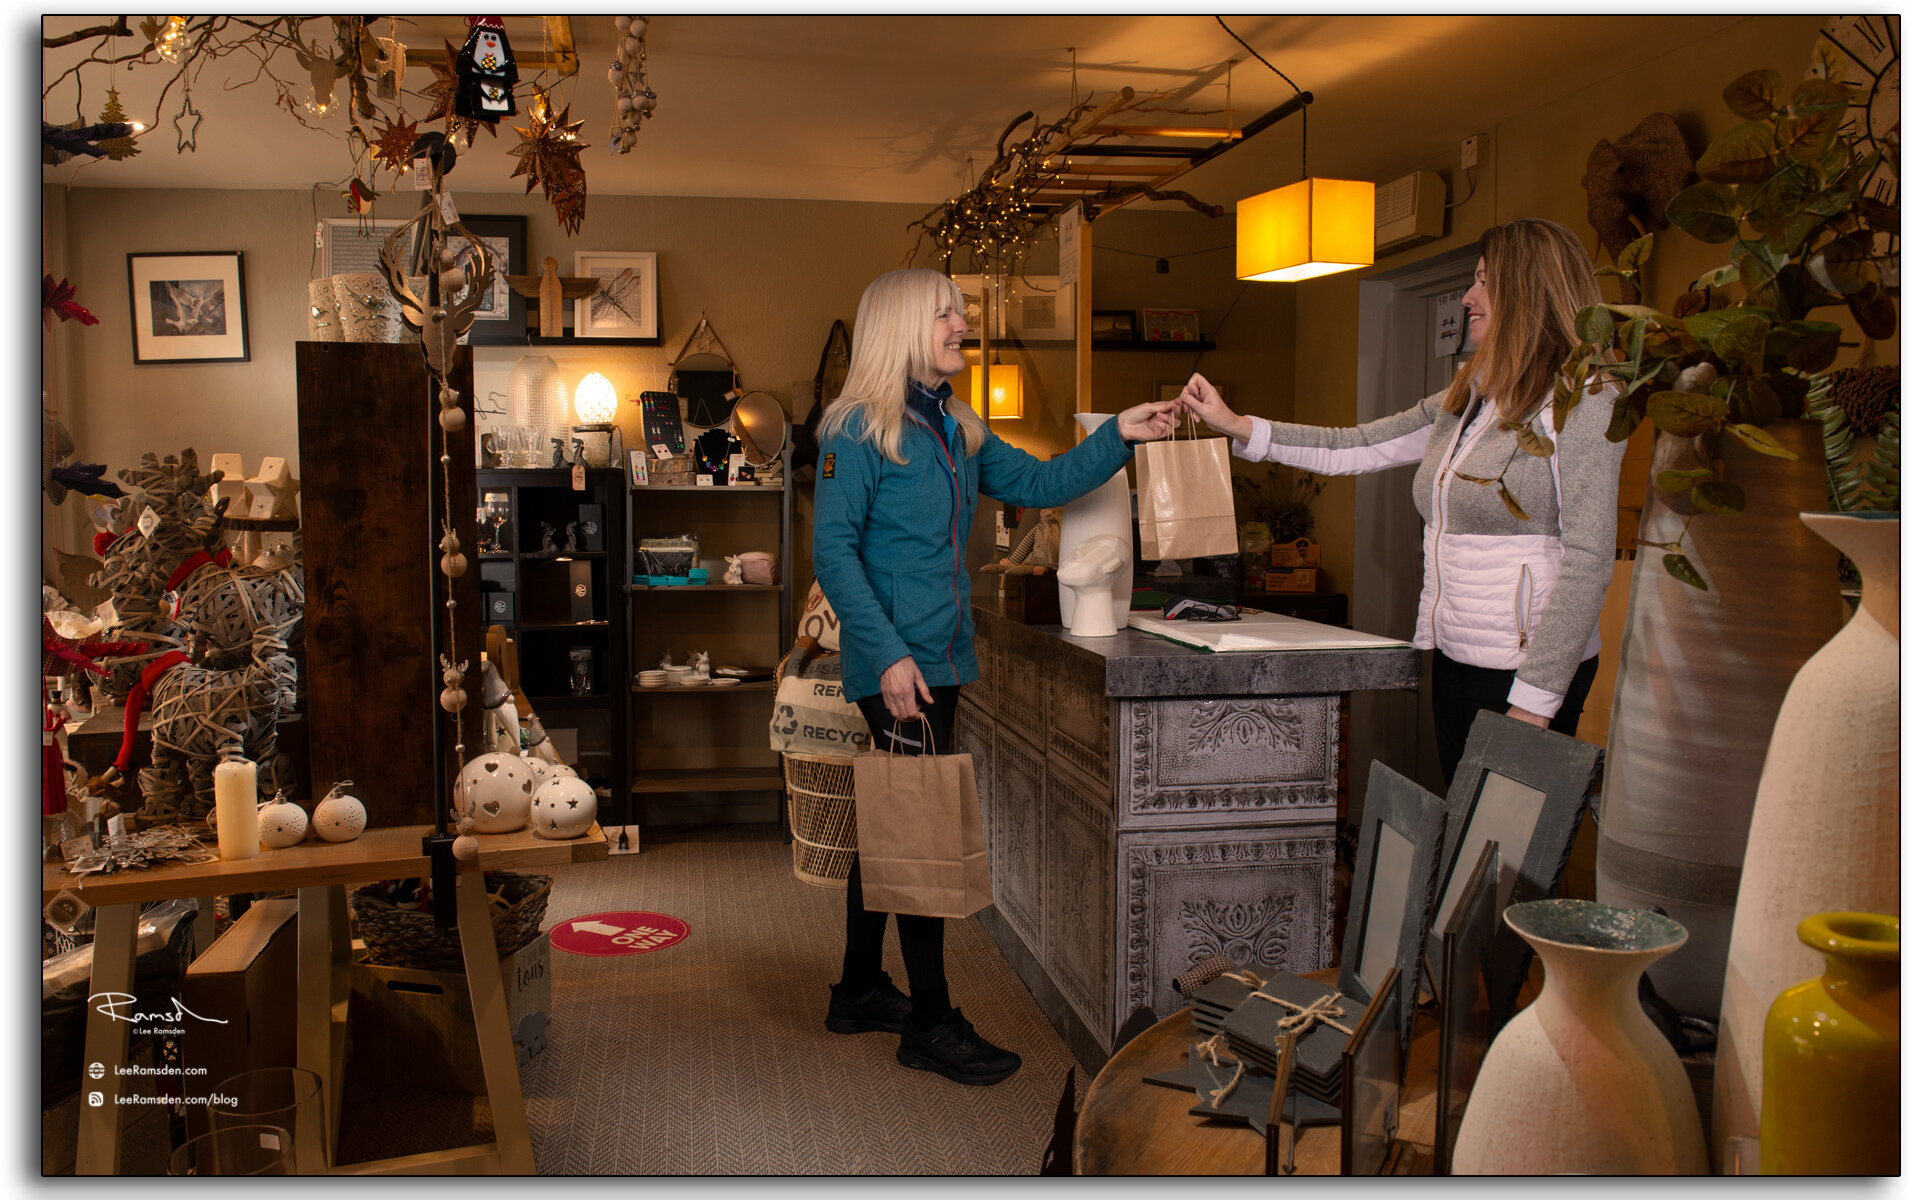
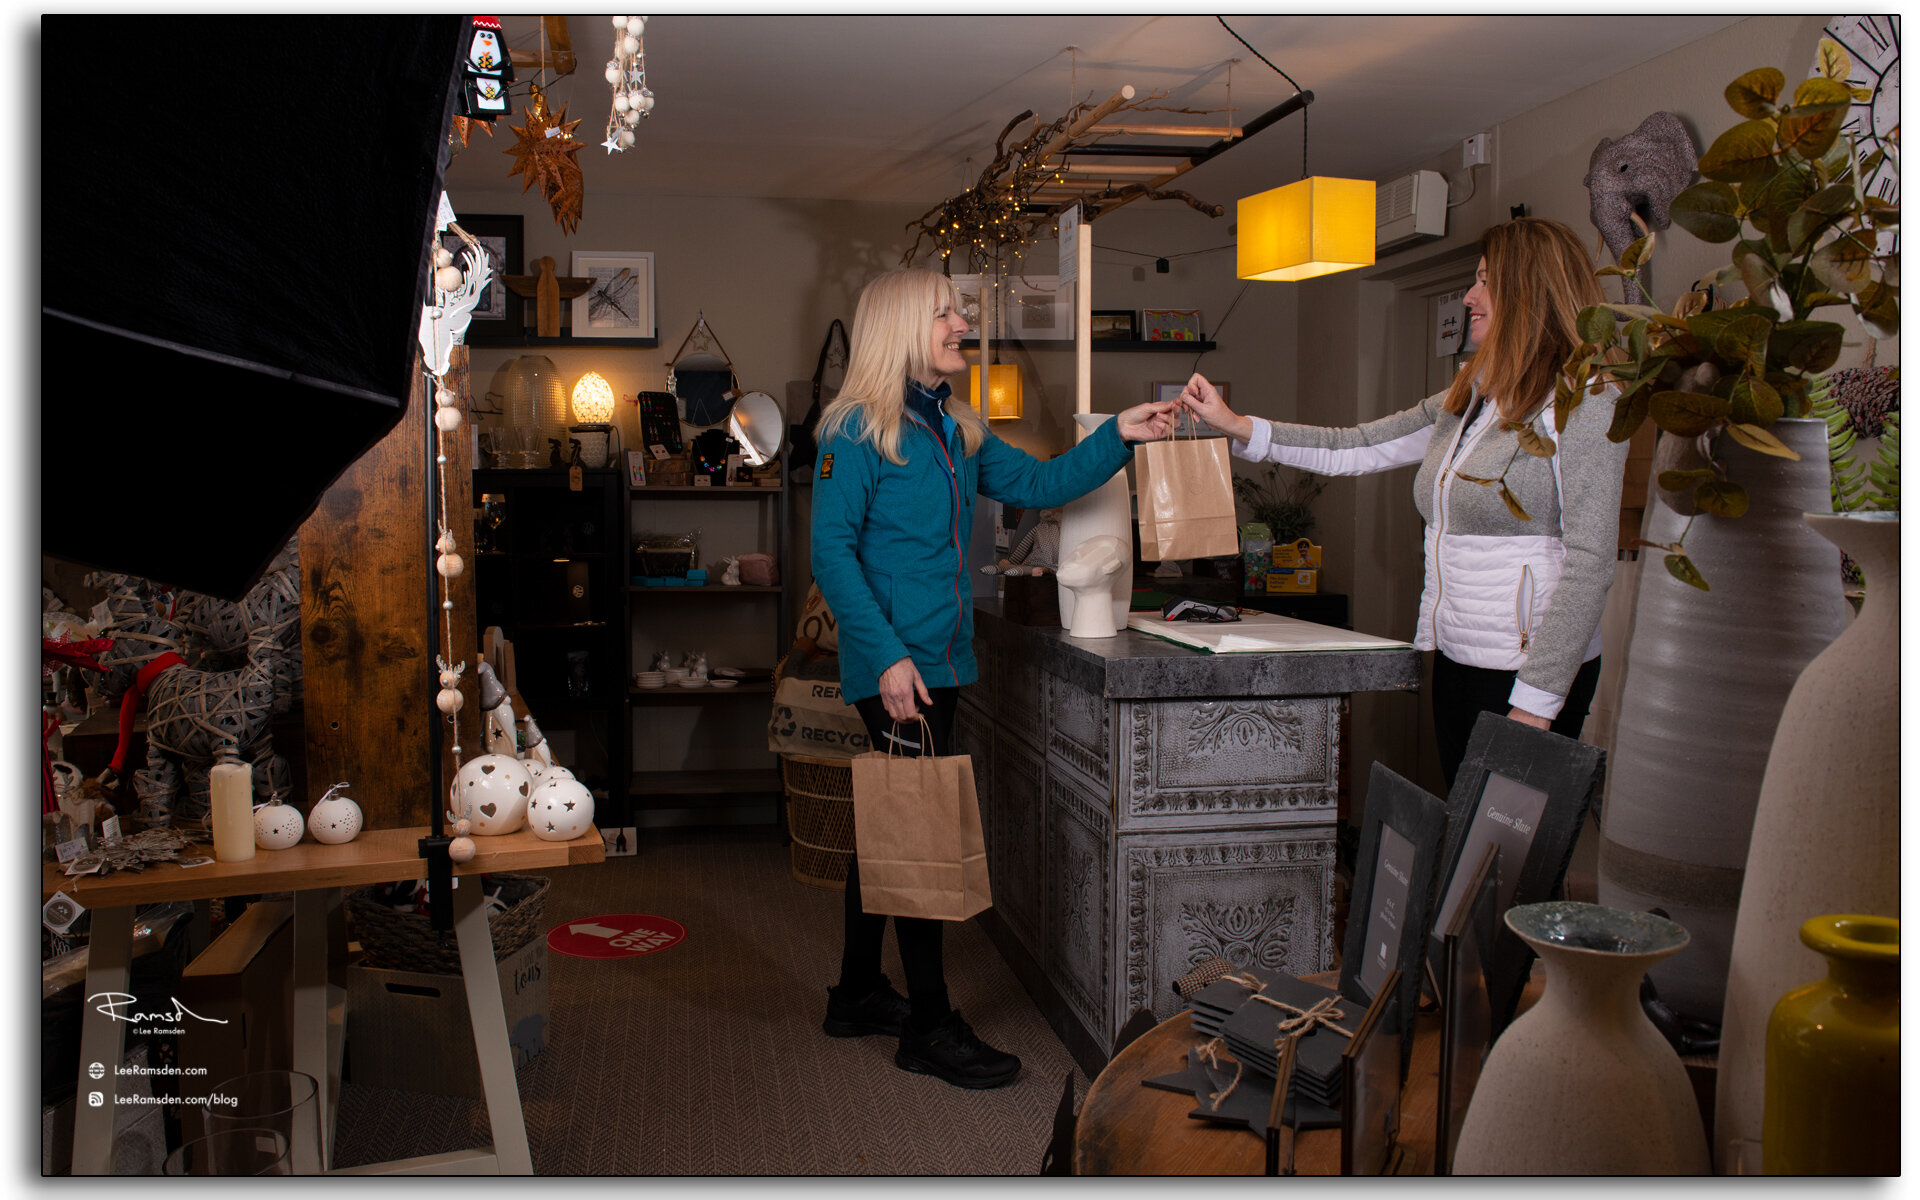
Above is an image of myself adding a pool of light onto a foreground part of the scene.

A couple of points to remember -

  • The camera has to be on a tripod or secure point and does not move throughout the process.

  • The camera has to be in manual mode to ensure that each frame remains consistent. Focus, exposure, ISO, colour temperature etc.

While using a Speedlight I use pocket wizard triggers, one on the flash, one in the hot shoe on the camera, and another as a trigger in my hand which is able to fire the camera and flash remotely.

Flash-lighting,-Lighter,-photoshop-tutorial,-lesson,-teaching,-software,-education,-adobe,-accredited,-master,-Lee-Ramsden.jpg

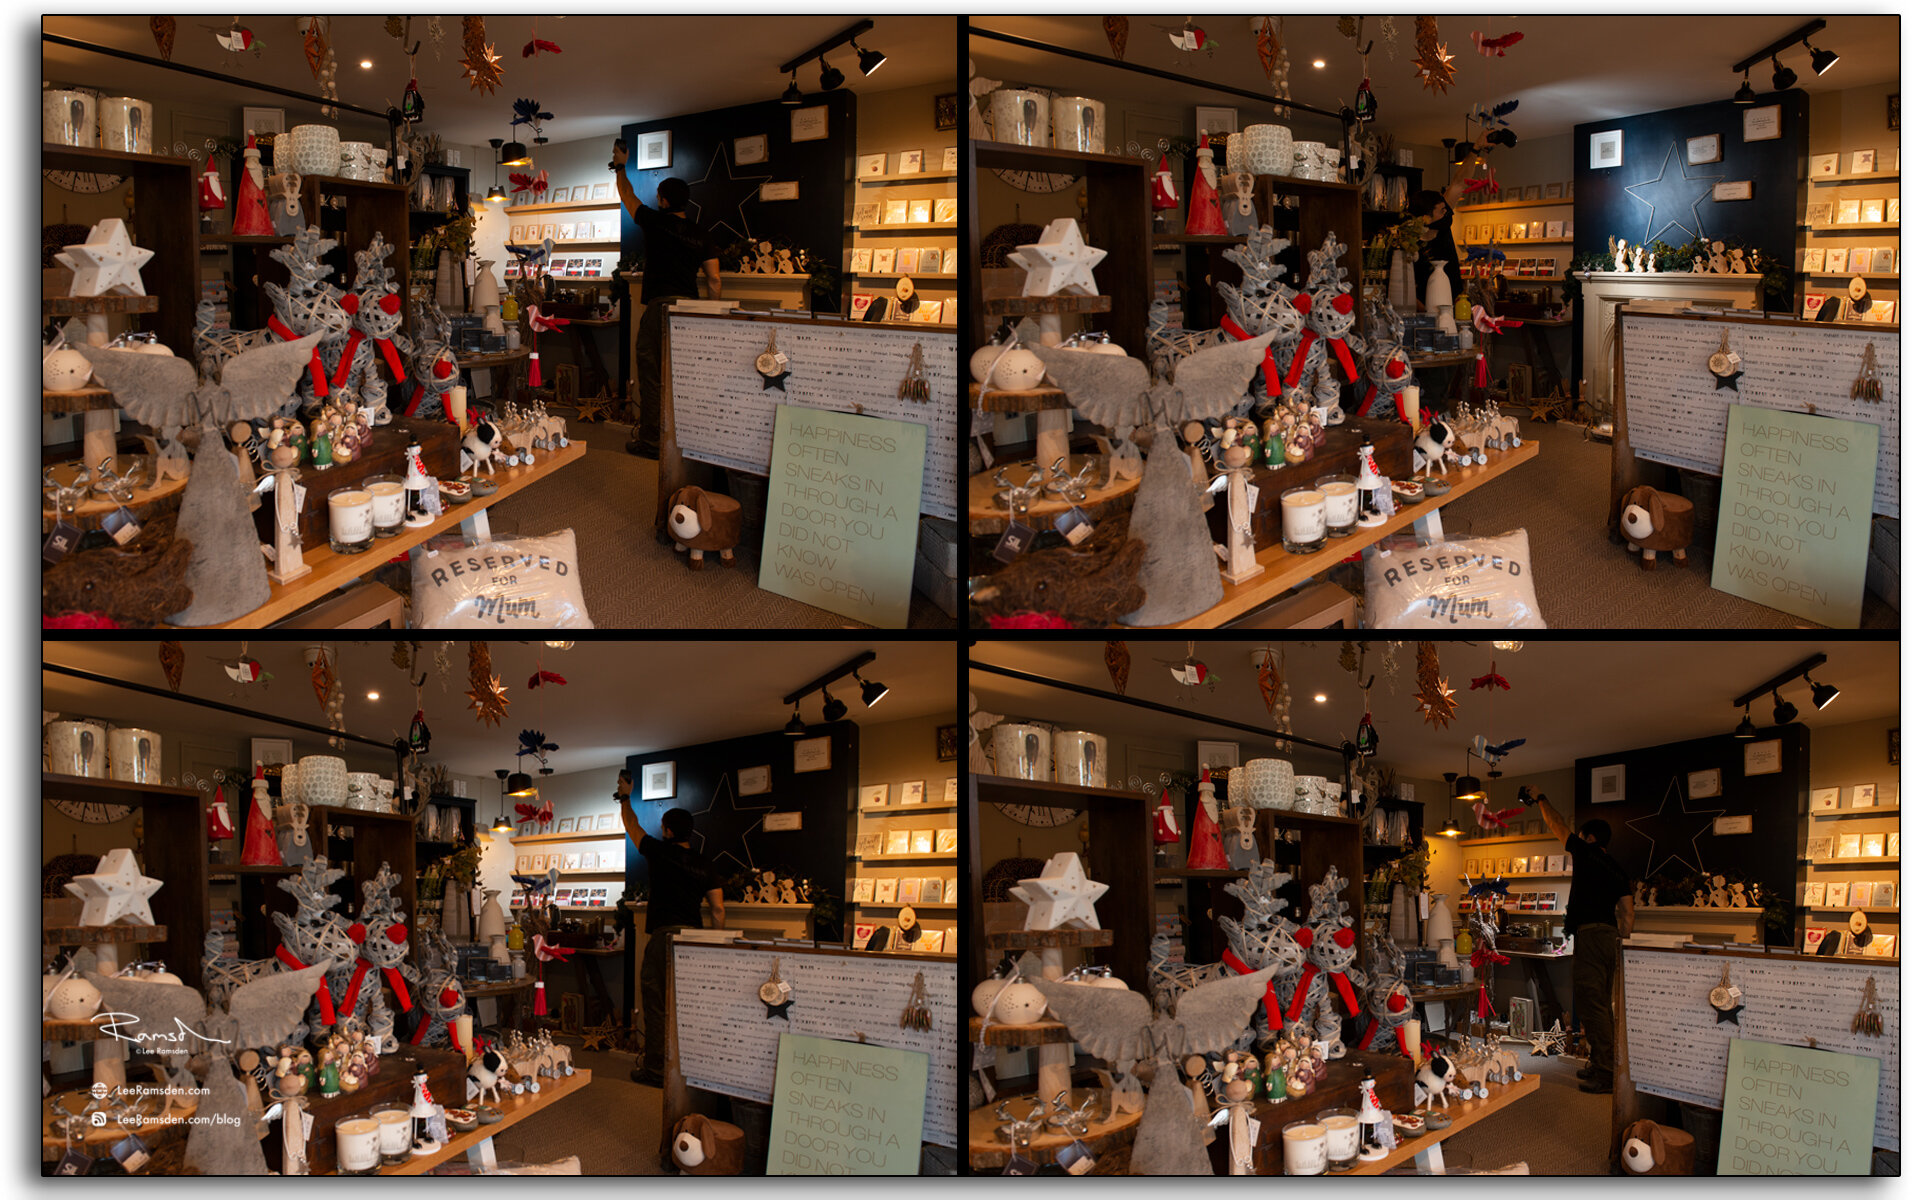
Again here are a few more images of me moving around the scene adding more illumination.

(Schoolboy error though, this time I forgot to pack my coloured gels and so had a bit more photoshop work to do after the fact.)

Lighter, photoshop tutorial, lesson, teaching, software, education, adobe, accredited, master, Lee Ramsden.jpg

Once all the images are captured, they are imported into photoshop and aligned.

Using a base layer, (without any flash) I add each illuminated frame on top.

Changing the blend mode to “lighten” and adjusting the opacity, I am able to change the intensity and have greater control of what is lit.

Finally using a layer mask, I paint out everything that is not required to help to keep the image clean.

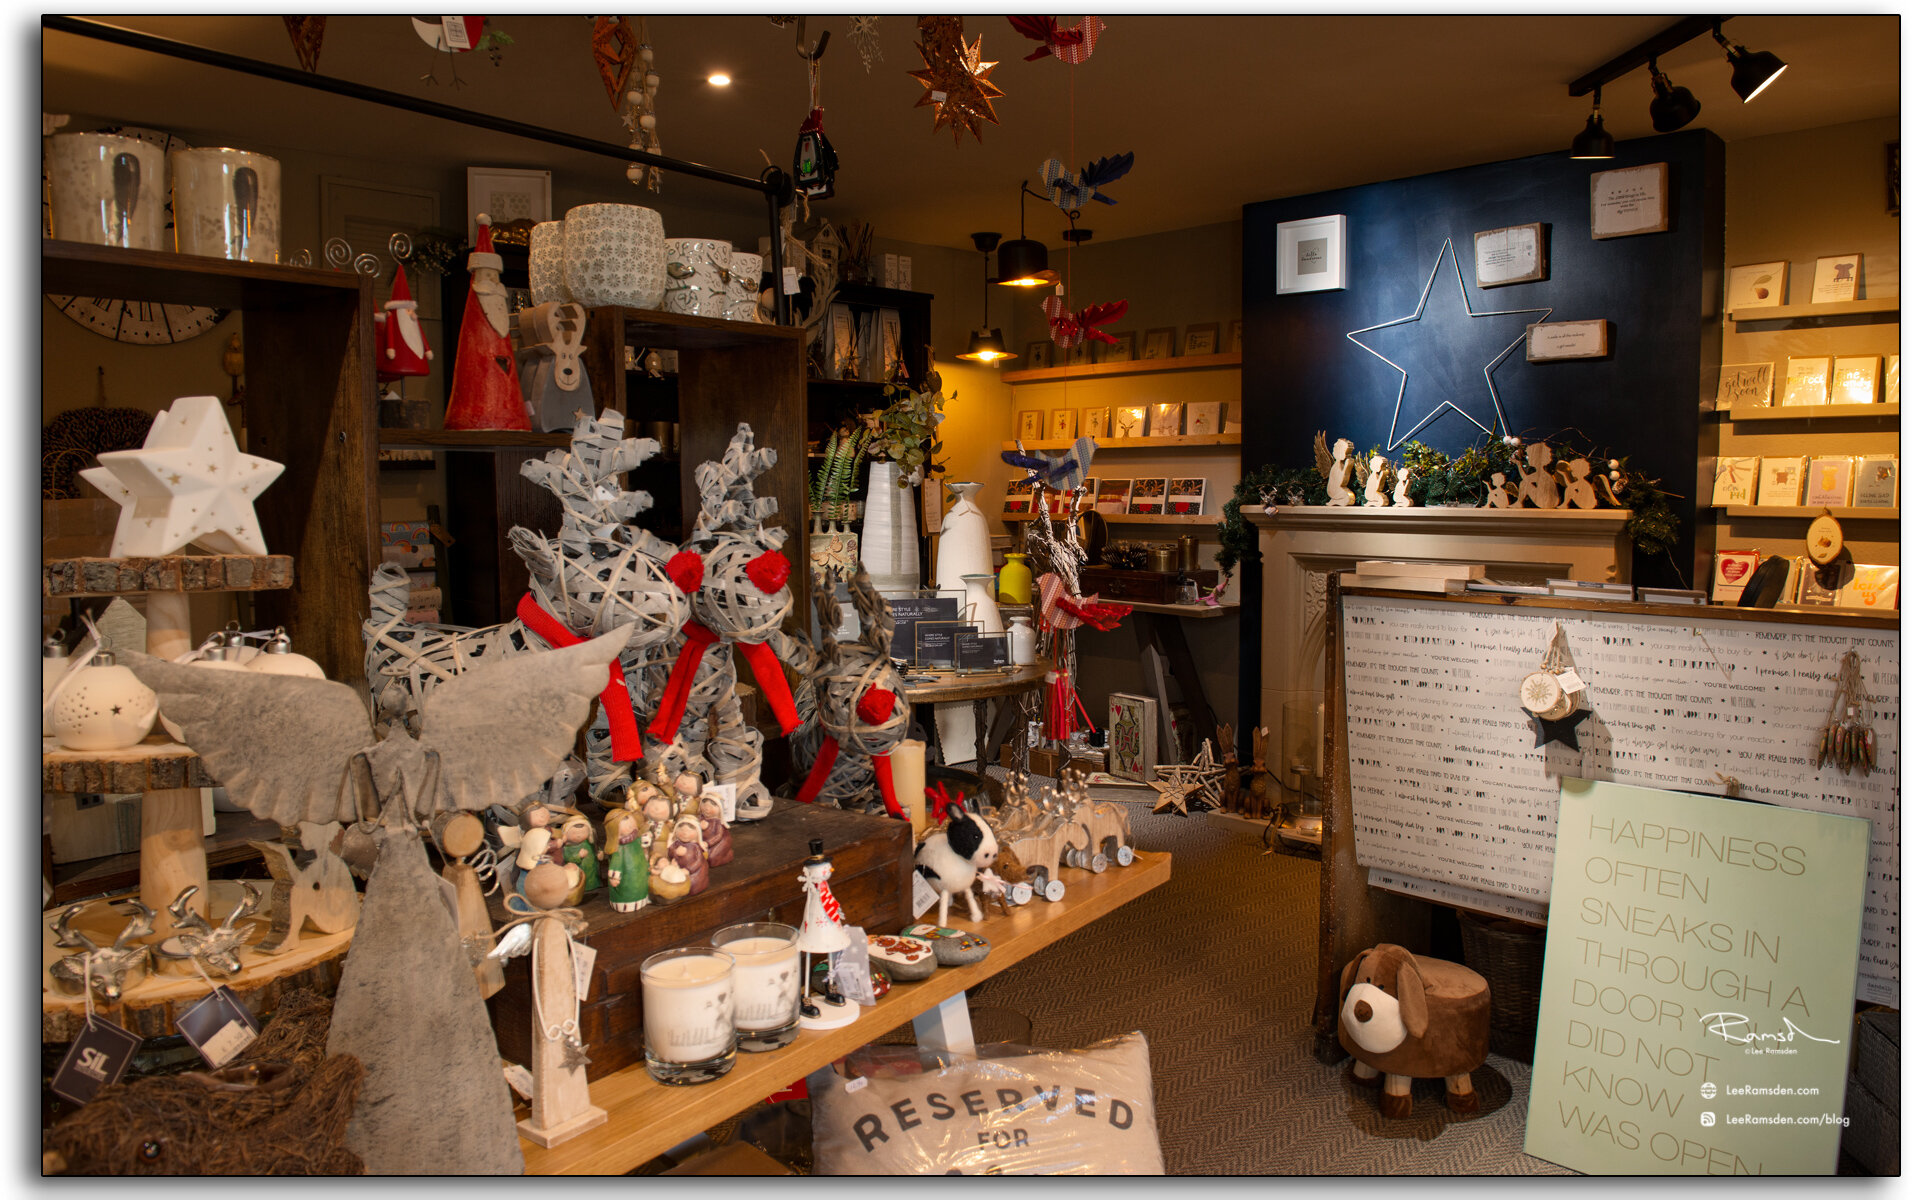
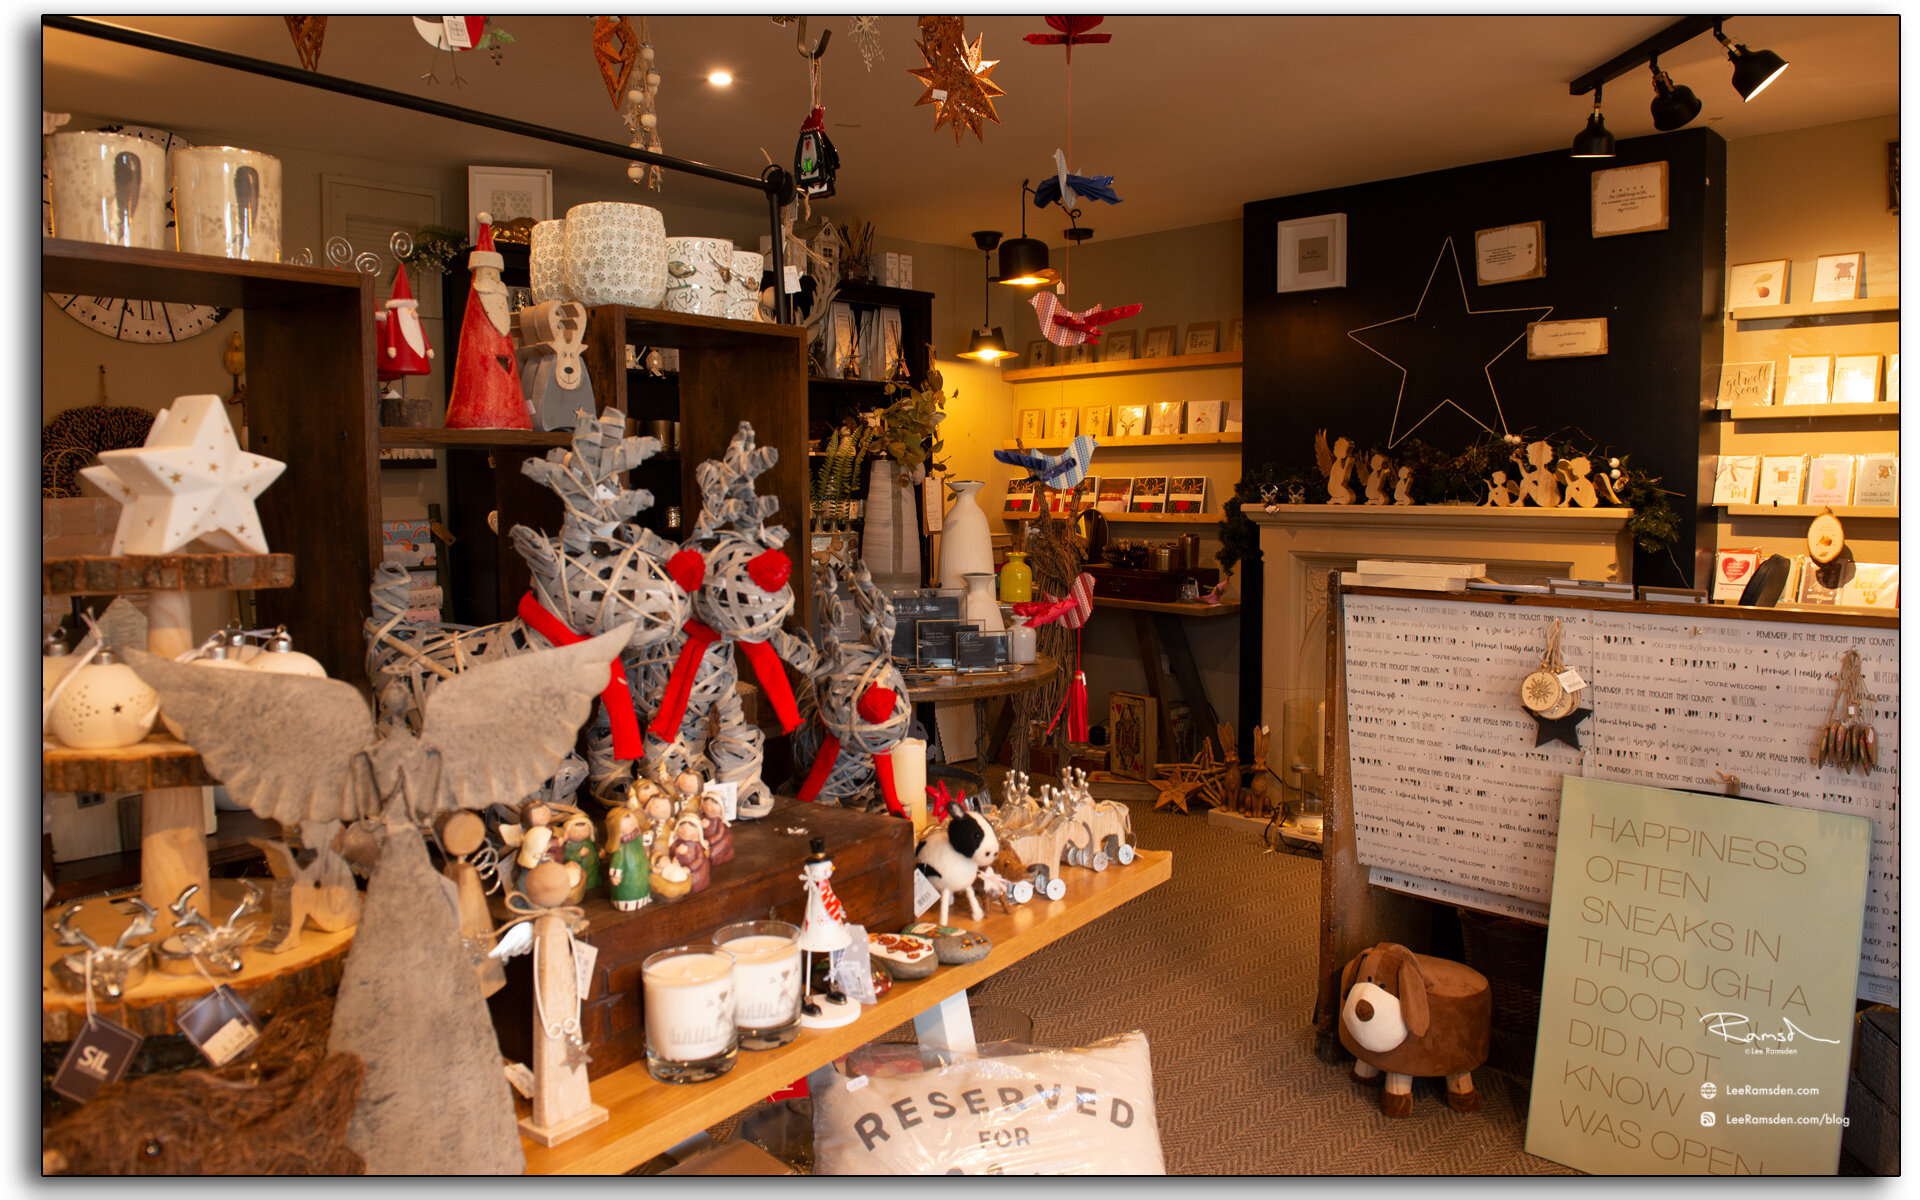
The final example of this technique in use.

Personally, I think the before image would have been a flat, uninteresting image. By adding light to different parts of the scene I feel brings in greater interest and a more polished professional product for my clients.

If you have any questions or would like to know more about this technique,

please drop me a note.

Kind regards,

Lee
<

Electronic shutter vs Mechanical shutter.

fuji x-t1 manual shutter displaying movement

Hi,

just a quick one as i am sure a lot of you are more experienced with this than myself. 

Whilst traveling to work i was taking some pictures on the flight. To avoid the cabin crew scowl i turned the Fuji X-T1's shutter from Mechanical to electronic. 

It is permanently set on the Mechanic mode, as in the past, i accidentally put it onto electronic and it would not fire the off camera flashes. To prevent that happening again, it is a setting i do not change. 

This occasion due to the silence of the electronic shutter, it would be a perfect solution.

Just for a demonstration and comparison, as i didn't want to take pictures of the planes propellers.

Have a look at the two images. The top image is the conventional mechanical shutter. And the lower is the electronic. I found it really interesting how the shutters create different images. 


Thanks

Fuji X-T1 Electronic shutter causing mishaped movement long exposures

Photoshop short cuts - Free download.

London veiw from the Shard photoshop short cuts education help tutorial Lee Ramsden

Hi all,

I hope that you are well. 

As you know there are hundreds of photoshop short cuts, and when you know them how much easier life can be. 

Like most i downloaded a list, and it just sat in my downloads folder.

Here is an idea I've been trying out and it works a treat. 

I incorporated the list in to some images, i now use them as desk top images and screen savers. This way the information is easily accessible while i am working, and even when not editing by viewing this information it helps sink into the grey matter. 

London Battersea power station photoshop short cuts education help tutorial Lee Ramsden

If you would like to try this out, please click HERE 

and you can down load these images in Hi-rez and use them as your desk top image. 

London morelondon photoshop short cuts education help tutorial Lee Ramsden


If you like this, then please feel free to share on your social media, 

giving credit to Lee Ramsden @ www.leeramsden.com


Thanks


Lee

Glyn Dewis Workshop

Glyn Dewis photoshop training course Dave Clayton

Well the other week i attended my first studio workshop ran by a Glyn Dewis. (UK's version of the photoshop guys) and i was highly impressed.

It was a half day workshop titled

"a workshop full of character"

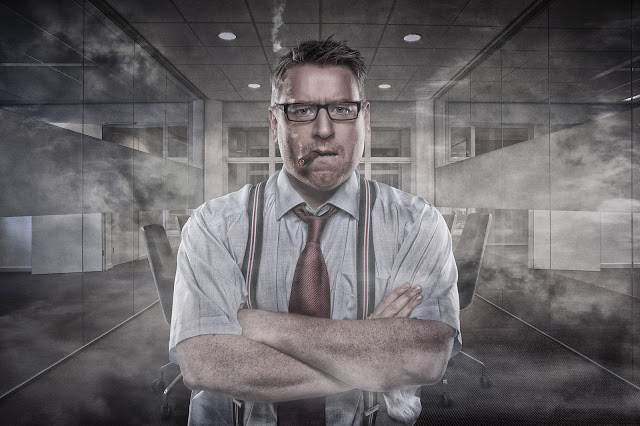
and the aim is to give you the tools needed to try and create a fun image like the one above. Glyn sets up the lighting but gives you pretty much a free Raine to move the model where you want to in the light, and to pose him on how you see fit.

Once you are happy and have the image that you are after, you all then go through some photoshop techniques on how to create something different. Glyn shows you how to improve an image up to a nice respectable standard... and then the fun starts and you are taught how to push things and come up with great concepts and the fun really begins...

The day is broken up as follows-

  • RAW Conversions
  • Cleaning up your images (Dust spots etc…)
  • Removing Blemishes
  • Eyes (Brightening, add contrast, colour and sharpening)
  • Creating Texture/Adding Details
  • Dodging and Burning
  • Cut Outs (Getting the most out of Photoshop CS5 Refine Edge Command + Extracting using Channels for those using earlier versions of Photoshop)
  • Adding in the Background
  • Creating ‘The Look’
  • :)
  • Special Effects and lots more
Glyn Dewis photoshop composite training photo of Dave Clayton NAPP
Glyn Dewis training KelbyOne Media
Glyn Dewis training Dave Clayton Office background NAPP

My finished image, I can not take the credit for the lighting on Dave Clayton, who was a fantastic model. Or the style he was dressed. But i did really enjoy finding the stock images and coming up with a theme to produce the finished result.

Glyn Dewis Group course attendees photoshop composite course

Q & A on HDR.

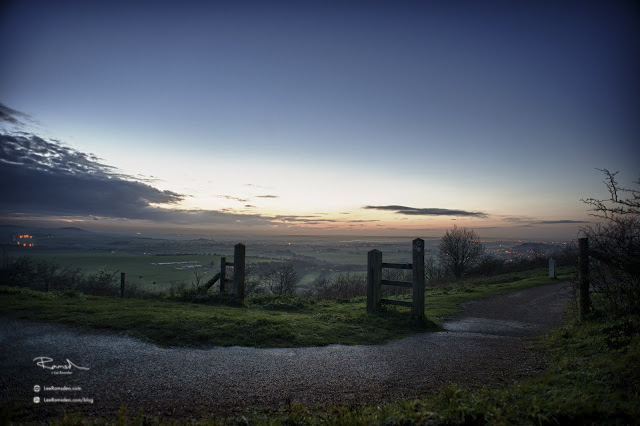
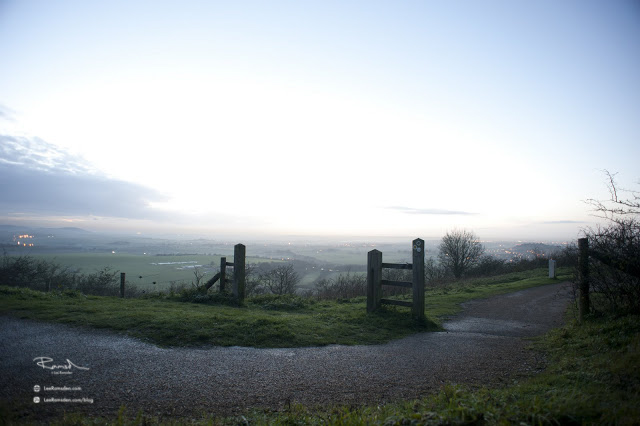
I recently was asked to show the before and after images of the Landscape Gate that i took last November in Dunstable.

Im not going to explain the HDR techniques as i have mentioned this a few times now,

HERE.

But this was to show my eye for HDR. As many will know i try and keep things looking as real as i can.

With a view like this in front of me, i knew HDR would work as the sky is too blown out for my liking. Some people will prefer the before image but its all down to our own opinions. No one is ever right or wrong.

I do not particularly think that "oh i will do a HDR image" for the sake of it, i look at the scene in front of me and if i feel that it will enhance the image then i will use it.

When looking at this scene on the lcd screen on my camera, i could see that either the sky will be blown out or if i expose for the sky, then the ground will be too dark.

Another options would have been to use graduated filters over my lens,

or take two images. one of a correctly exposed sky/ and then the ground.

Place one above the other in Photoshop as layers and hide/reveal the correctly exposed parts of the image.

Both good techniques, my train of thought here was, 1- i dont own any graduated lens filters, and 2 - trying to mask out this sky would of taken time. plus i like the textures HDR processing can produce.

The After image was created using HDR techniques with 8 images at various exposures. 


Please feel free to share this post on your social media, giving credit to the photographer Lee Ramsden www.leeramsden.com


Thanks

Perspective going wrong.

Here is a quick post mainly to point out something you need to consider when composing a shot.

As photographers we are always looking for a different perspective, which if done correctly can add weight and interest to our images. Here is an example where it can go wrong...

Following the previous post, i was trying to take a portrait of the salon owner Kelly, and thought of the idea of showing her with her laptop on the desk to show her working.

MyTime Health and beauty receptionist at work


As you can see from the above image the perspective is very wrong... 

Unless Kelly is tiny or the Laptop is Huge! 

which neither apply here... 

Even the desk in this image is way to over powering and makes the subject appear smaller.

So when you are lining up your shots as a photographer you have to think in 3D, 

If something is in the foreground, how will this effect the image and work with the background? 

Same with the Back ground, how will this look with a subject in front of it?

MyTime health and beauty receptionist on the phone therapist Kelly Moss Ramsden

You can see with the above image, by standing up and raising the perspective you can see it places the desk and laptop into a more acceptable perspective. Making them appear to be more normal in size. 

These images were lit with a single SB900 strobe placed on the laptop keyboard reflecting off the screen.


Many thanks

Lee